Pages

Wednesday 20 April 2016

BEAUTY: John Frieda - Visibly Brighter

In today's post,  I will be talking about the John Frieda Visibly Brighter, hair lightening treatment.

I was looking at youtube videos and came across a vlogger who had tried out this product and you could see a slight difference in the hair colour. So, I decided that I too wanted to test this product out; especially as it is coming up to summer.


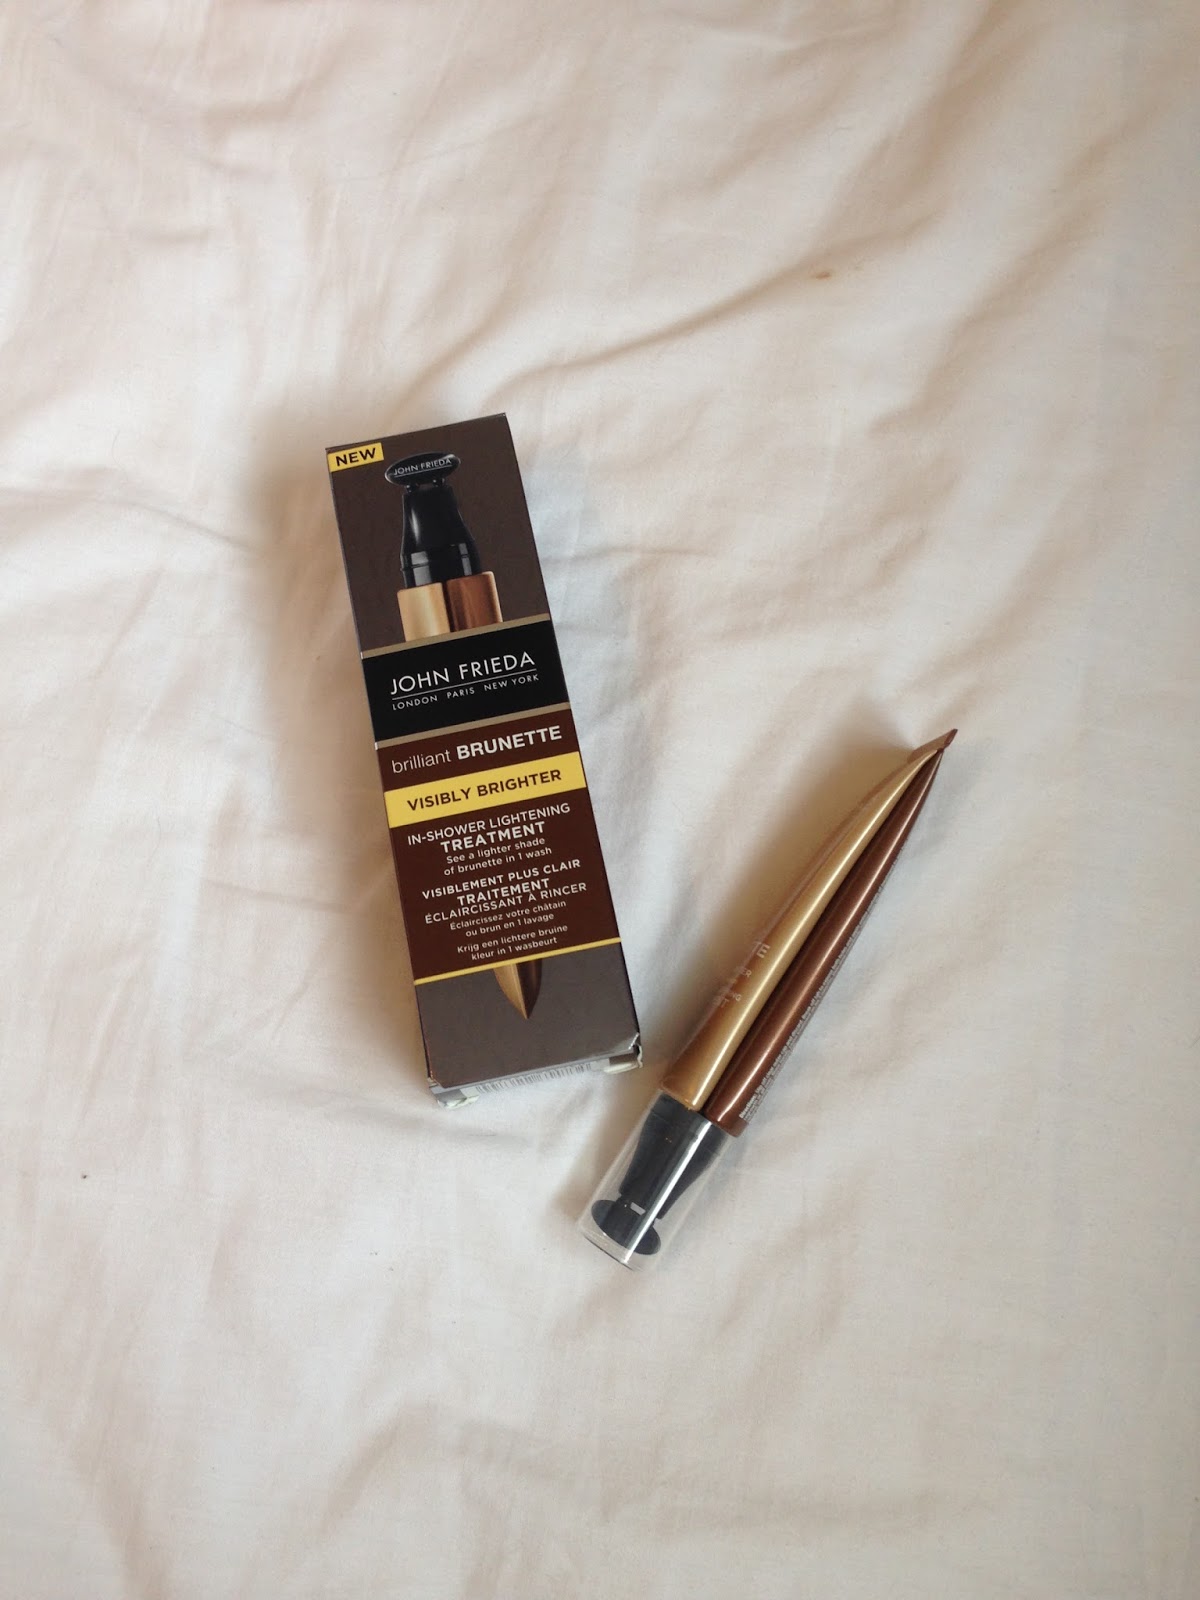
It is one tube with two products in each half. The lighter side has the lightening chemicals in it, such as amonia (which has a strong odour). You can use it before your normal shampoo & conditioner routine. You lather it up in your hair, focusing particularly on the roots of the hair. You then leave it for 5 minutes; and in this time you can do the usual thing: shave your legs/armpits, wash your body, or just sing. One time is up, you simply rinse it out and continue with your hair routine.

In my opinion, I did not see a difference in hair colour and neither could anyone else. Perhaps I should have left it on a little longer to allow the amonia to properly infuse with my hair. I may try this treatment again just to see whether or not it does make my hair go lighter.

Until next time, xo

Saturday 16 April 2016

FITNESS: Getting back to it!

When I worked in London I was leaving the house at 6:30am and didn't get home until 7pm. This meant that I found it difficult to include a fitness regime into my schedule. All I wanted to do after coming home from work was eat dinner and go straight to bed!
The only real form of exercise I was doing was walking 2 miles to work every morning which took me about 40 minutes.

So, when I left that job, I made sure to re-join my gym and start using my membership more effectively.
I starting going to group exercise classes because I felt more comfortable in a room full of women following an instructor, rather than in the gym, feeling alone, feeling like I didn't know what I was doing.
Attending my weekly classes on a regular basis gave me more confidence about doing exercise and not worrying about what others thought about me. I then started to use the gym more often, focusing solely on what I was doing. Each time I made it to the gym for a workout I felt proud of myself!

Now that I am used to attending my group exercise classes and the gym on a regular basis, I have decided to branch out and exercise away from my local gym. I recently rode my bike 16.5 miles, after 3 years of not riding a bike AT ALL!! This was such an achievement for me as it was tough and the terrain wasn't completely smooth.

Yes, most people want to go to the gym to get their 'summer body'; but, I believe that you should exercise all year round for a body that you want all year round and not just for bikini season!!
I still sometimes find it challenging to exercise but I always remember that no matter what exercise I am doing, I am ALWAYS lapping the person that decided to stay on their couch!

Until next time, xo.

Sunday 3 April 2016

RECIPE: Homemade Chocolate filled Palmiers

Hi everyone!

Everyone loves chocolate, right? So what a better treat than to make your own chocolate filled palmiers?
You can make them for any occasion. A picnic, a birthday, a dinner party or just as a treat in the house!
Not only do they taste delicious but they are so easy to make and people will think you've bought them from a patisserie!

You will need: 

  • Greaseproof paper
  • A baking tray
  • Chocolate Spread
  • Ready rolled puff pastry (Or you can make your own)
  • Shredded coconut pieces

Method: 
  1. Pre-heat the oven to 180 degrees (fan).
  2. Roll out your puff pastry into a rectangle shape. The longer you make it, the more you can make and the wider you have your pastry will determine the size. 
  3. Spread the chocolate all over one side of the pastry. Use as much or as little as you want! 
  4. Roll one side until the you reach the middle of the pastry. Then do the exact same with the other side. (They will look like little hearts) 
  5. Cover up the pastry with cling film/ greaseproof paper and place in the freezer for 30 minutes - 1 hour. 
  6. Remove from the freezer and cut each palmier 1/2 cm thick.
  7. Place each palmier onto the greaseproof paper on the baking tray, ensuring you leave space around each one as they do expand. 
  8. Place into the oven for 15-20 minutes or until golden brown. 
  9. Sprinkle with shredded coconut.
  10. Enjoy!!! :) 
(Before baking - I should have spaced them out more. They expanded a lot!)


I hope you enjoy making these as much as I did; and enjoy eating them too!! 

Until next time, xo